If you already own a laser measure, look at how much work remains before you can hand over a drawing. A kitchen clearance check and a new apartment floor plan involve different amounts of drawing work. This floor plan scanner vs. laser measure comparison focuses on that decision: when your existing kit is enough, and when room capture is worth adding.
Decide whether you need more than your existing meter
| Your usual job | Start here | Reason |
|---|---|---|
| Check an opening, wall length, or furniture clearance | Keep your laser measure and tape | You need selected dimensions. A new capture workflow adds little to that task. |
| Update a drawing that still matches most of the interior | Measure the changed areas and edit the drawing | You already have the layout. Confirm its accuracy before reusing it. |
| Create new plans of connected interiors repeatedly | Evaluate a floor plan scanner against your current drawing process | Captured geometry can provide a starting layout and a spatial reference for later editing. |
A connected laser measure and its companion app may already solve your main problem. Bosch MeasureOn, for example, supports room sketches and automatic measurement transfer from compatible Bluetooth devices. If copying readings is your bottleneck, explore that route before buying a floor plan scanner.
If the work is rebuilding walls, relating one room to the next, and finding which photo belongs to an opening, test room capture. A floor plan scanner is worth evaluating for that drawing workload; having several rooms alone does not establish the benefit.
Compare the work needed to deliver the same plan
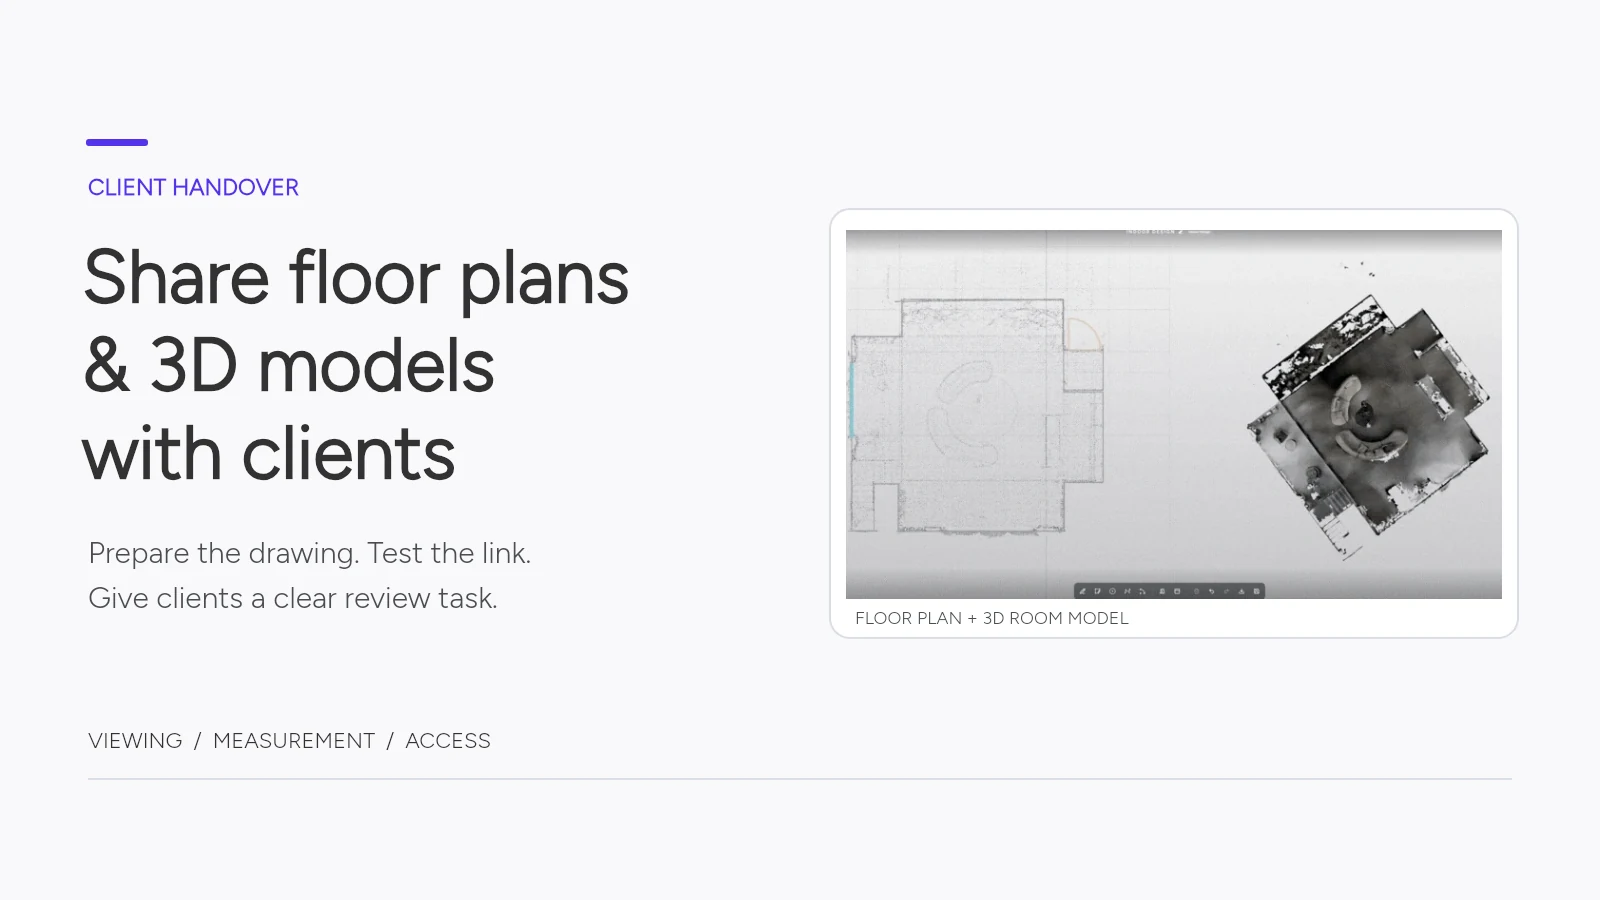
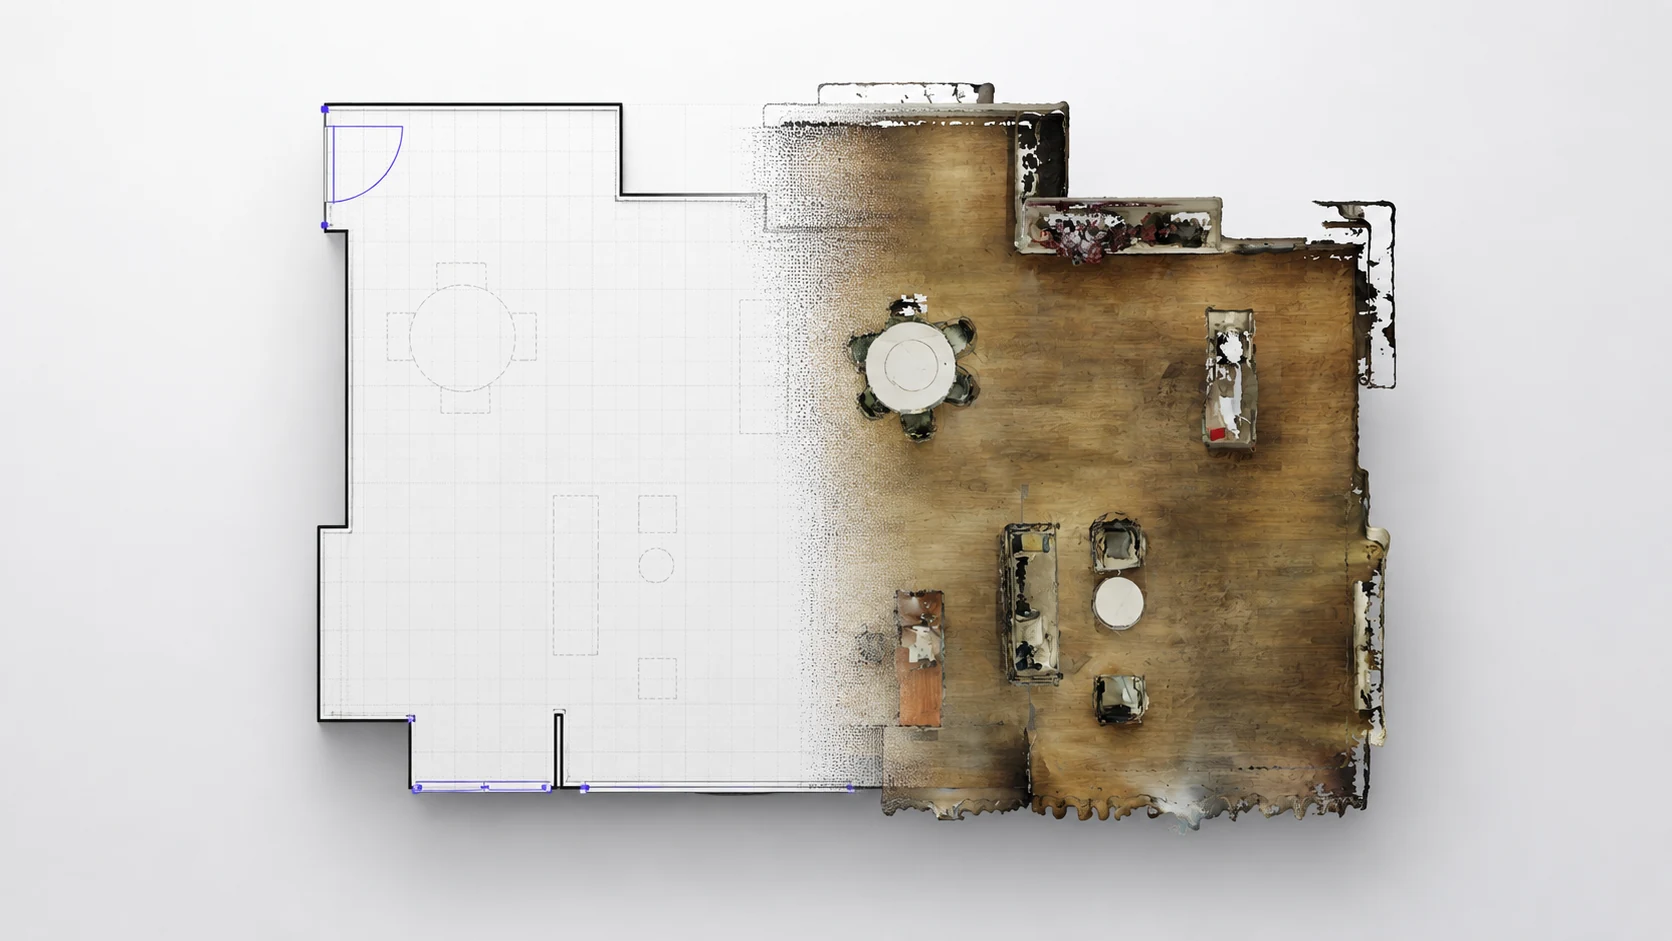
For this comparison, a floor plan scanner captures a physical interior and supplies geometry for a drawing. Phone LiDAR apps and dedicated hardware are different ways to do that; editing, compatible devices, and exports depend on the particular setup.
| Stage | Laser measure with a drawing workflow | Floor plan scanner with supported software |
|---|---|---|
| Record the interior | Take selected readings and associate them with a sketch, app, or existing plan | Capture visible geometry, inspect coverage, and take required dimension checks |
| Build the drawing | Construct or update walls, room connections, and openings using the recorded measurements | Review the draft or captured geometry and refine the drawing using the software's supported tools |
| Deliver | Confirm dimensions, units, and the requested file | Apply the same checks before handing over the file |
Both routes can produce a useful floor plan. Compare the time and effort needed to produce the same reviewed deliverable. A fast scan followed by extensive editing may offer less benefit than the capture time suggests.
Use one representative job to make the decision
Choose an interior similar to your usual work. Agree on the output before comparing a floor plan scanner with your current kit: a client report, an editable DXF for a designer, or both.
- Record the work in separate stages. Include setup, capture or measurement, dimension checks, drawing, corrections, and final review. Keep upload or processing waits separate from active work.
- Check features that can change the design. Compare the same physical endpoints in the room and drawing: an opening width, the distance from a corner to that opening, and a recess intended for cabinetry, for example. Include an irregular corner or room connection if it occurs in your work.
- Resolve differences before accepting the plan. An opening can have the correct width but the wrong position. A wall measurement alone will not reveal that. Inspect nearby geometry and the measurement reference before editing the drawing.
- Open the actual export. Confirm units and scale in the receiving application, then check that the walls and openings are usable for the next task. An editable DXF still needs review before detailed design or fabrication.
Use the blank workflow comparison worksheet to record the two methods. It leaves timings and costs empty so you can enter your own results.
Choose a floor plan scanner if the trial reduces total active work for the same reviewed deliverable and the cost comparison below supports the upgrade. Include setup, capture, checks, drawing and corrections in that total. Keep processing waits separate, but check whether they affect the delivery deadline. Repeat the trial on another typical interior before treating the result as your normal workload.
For the drawing review, use the criteria in What Makes a Floor Plan Useful? alongside your workflow trial.
Work out the added cost per plan
For a floor plan scanner, count processing charges, any additional software or storage, and a share of the equipment cost across the number of jobs you realistically expect. Compare those costs with your current software charges and the change in active working time from the trial.
Value of active work saved per plan = (current active hours − scanning-workflow active hours) × your hourly work cost.
Added non-labor cost per plan = the scanning route’s processing, software, storage and allocated equipment costs minus the equivalent costs of your current route. Use the same expected project volume for both. Count labor only in the work-saving calculation above.
For C1, Creative Portal's essential floor plan workflow does not require an annual Pro subscription, but processing uses purchased credits. Pro is optional. Confirm the current plans and credit charges for your expected work before estimating costs.
Where the C1 floor plan scanner fits
C1 is a dedicated indoor floor plan scanner with integrated laser distance measurement. Use it with the Creative App on a compatible phone; confirm your phone model and app version before purchase. It records the interior while keeping selected laser checks in the same device.
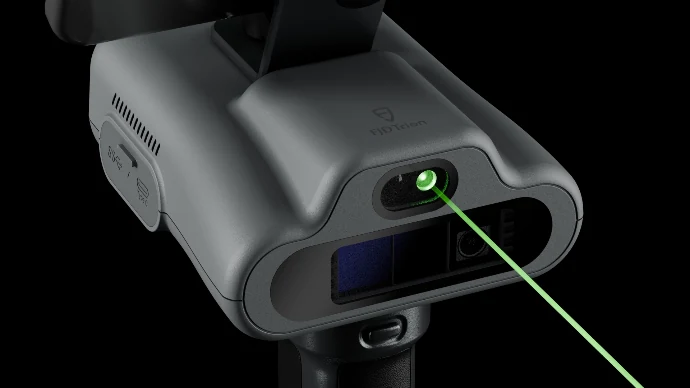
The official C1 workflow separates the stages clearly:
- On site: view the floor plan draft in Creative App, inspect highlighted coverage gaps, rescan where needed, and add selected laser measurements or quick corrections.
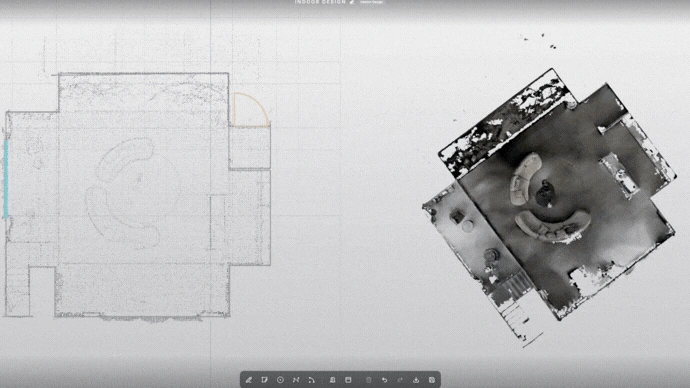
- In Creative Portal: upload the project, keep the mesh (the captured 3D surface model) in view, and refine walls, room boundaries, doors, and windows before exporting the DXF or floor plan report.
The field draft is a starting drawing. Door and window positions still need review during refinement; adding a laser measurement does not establish the accuracy of every other dimension in the plan.
Read the specifications for the task they describe
These published values help you assess a floor plan scanner on site. They describe different measurements and cannot be substituted for one another.
| C1 specification | Published value | Buying implication |
|---|---|---|
| Post-processing relative scan accuracy | 0.39 in (1 cm) | This describes processed scan data, not a guaranteed tolerance for every final plan dimension. |
| Laser distance measurement accuracy | ±0.12 in (±3 mm) | Applies to selected laser distance checks; it is not the floor plan's overall accuracy. |
| LiDAR capture range | 0.33–19.7 ft (0.1–6 m), at 10%–90% reflectivity | Plan the route around the surfaces you need to capture. |
| Laser distance range | 0.10–196.9 ft (0.03–60 m), at 100% reflectivity | The 60 m figure belongs to distance measurement, not LiDAR capture. |
| Weight and runtime | 2.09 lb (950 g); up to 5 hours | Assess the actual setup's handling and battery use during your normal visits. |
Source: C1 official specifications, checked October 28, 2026. Surface conditions and the measurement setup affect practical use; actual battery runtime varies with use.
FJD Trion also states that C1 can capture up to 2,153 ft² (200 m²) in approximately three minutes under recommended scanning conditions. That is a capture claim. Add field checks, processing, refinement, and review when comparing total delivery time.
Watch C1 in use
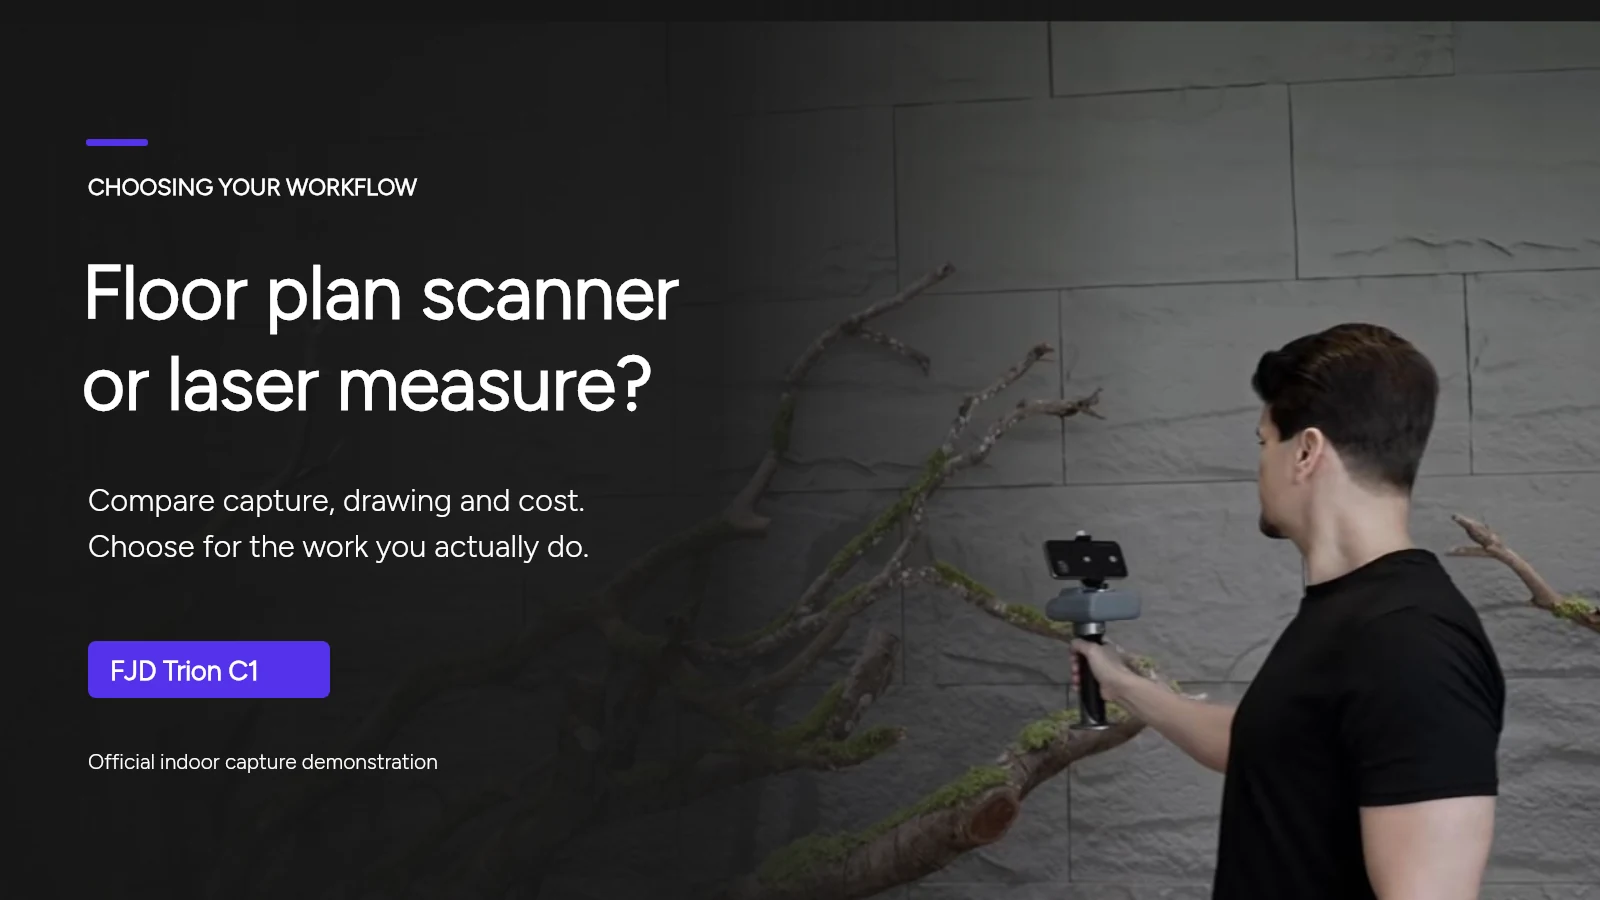
The short clip shows indoor capture. FJD Trion's full C1 floor plan scanner demonstration on YouTube also presents field checks and the Portal workflow.
FAQ
Can a laser measure create a digital floor plan?
Yes, with an appropriate device and drawing app. Compatible systems can transfer readings into room sketches. Check the exact device, app features, and exports you need; a basic distance meter alone does not create a complete digital drawing.
Is a floor plan scanner more accurate than a laser measure?
There is no universal winner. Compare individual distance accuracy separately from the accuracy of a processed scan and the reviewed drawing. C1 lists 1 cm post-processing relative scan accuracy and ±3 mm laser distance accuracy. Those figures do not establish a ±3 mm tolerance for the whole plan.
Does C1 deliver a finished floor plan on site?
Creative App provides a field draft for review and quick corrections. Upload the project to Creative Portal for further refinement, review, and export. Include that later work in your delivery schedule.
Do I need an annual Creative Portal Pro subscription?
The essential floor plan workflow is available without an annual Pro subscription. Processing uses purchased credits, and Pro is optional. Check current task charges and plan conditions when estimating the cost of each project.
If your team repeatedly draws new indoor layouts from individual measurements, explore C1's capture and laser-check workflow. Ask for a demonstration using an interior like your own projects, and compare the drawing work and output before choosing the equipment.